Multi-Factor Authentication
Multi-factor authentication (MFA), also referred to as two-factor authentication (2FA), is a method of confirming your identity when signing in, by requiring something in addition to your password.
This is usually done using any combination of several factors
- Something you know (your password)
- Something you have (your phone)
- Something you are (your fingerprint)
Self-Service Password Reset
The self-service password reset feature allows users to reset their password, or unlock their account without contacting IT.
Multi-Factor Authentication
Signing into your account on a
personal device or
external network will have an additional step that requires you to present an additional piece of identification.
- Step 1 - You'll enter your password
You'll enter your username and password as usual
- Step 2 - You'll be prompted for additional verification
This will depend on the verification methods that you've set up, and which one is set as your default.
Either approve a notification on your phone from the Microsoft Authenticator app, enter a verification code sent to you by text message, or answer a phone call.
Self-Service Password Reset
When visiting the self-service portal, you will be prompted to verify your identity using 2 forms of authentication instead of your password.
After verifying your identity, you will be able to change your password, or your account will be unlocked.
Change the Phone Number or Email Address I have Registered for MFA
To change your verification methods, you will need to have an alterative verification method already registered to be able to access your account.
- Go to the Security info page.
- You will be prompted to verify your identity using one of your existing methods.
- You will be taken to the Security info page. Beside the verification method you want to change, click Change.
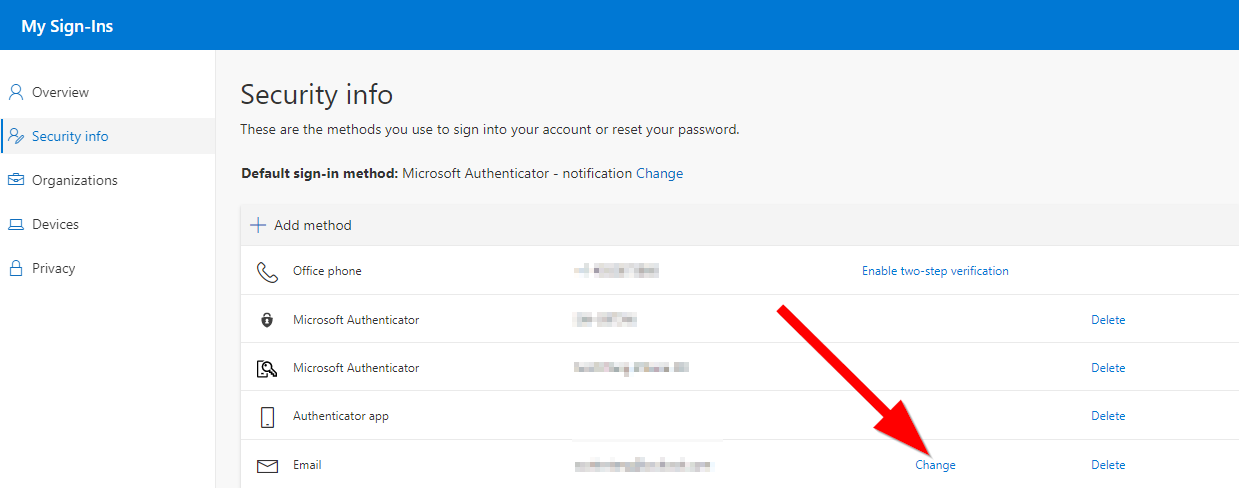
- Follow the remaining instructions on the screen to complete the registration.
Delete a MFA Verification Method
- Go to the Security info page.
- You will be prompted to verify your identity using one of your existing methods.
- You will be taken to the Security info page. Beside the verification method you want to change, click Delete.
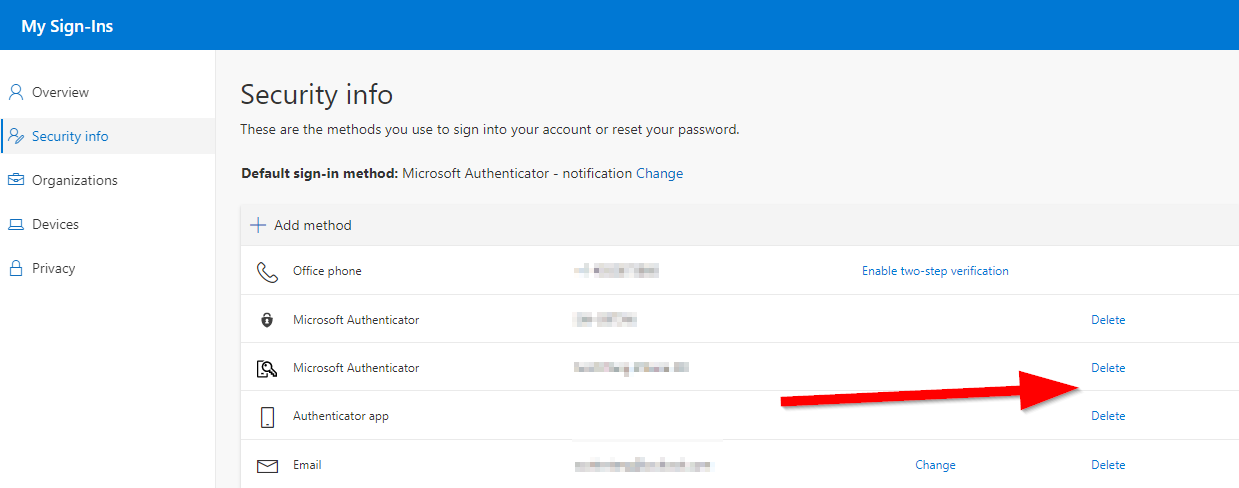
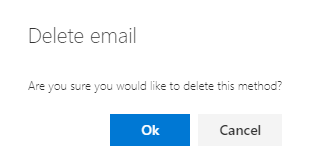
- You will be prompted to confirm that you want to delete this verification method. Click Ok.
Change my Primary MFA Verification Method
- Go to the Security info page.
- You will be prompted to verify your identity using one of your existing methods.
- You will be taken to the Security info page. Beside Default sign-in method, click Change.
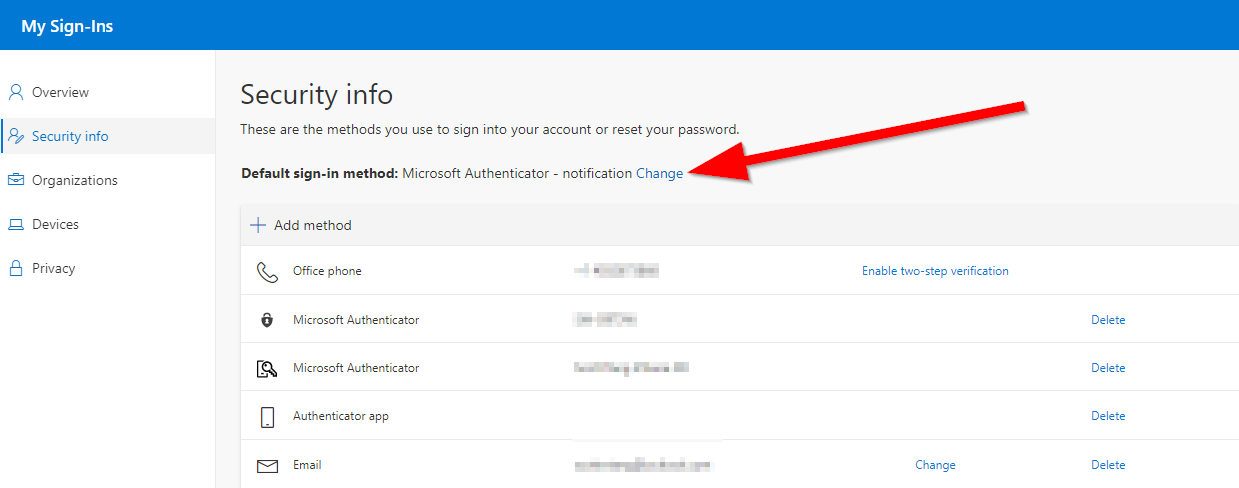
- Select the verification method that you want to use from the dropdown menu.
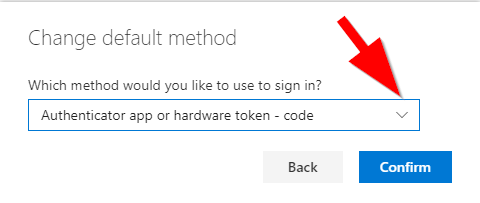
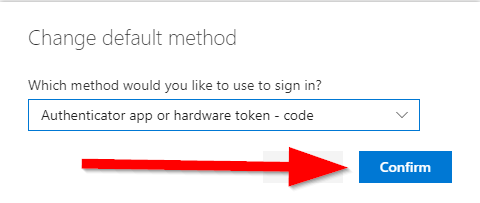
- Click Confirm to finish changing your primary verification method.
Register MFA using the Microsoft Authenticator App
The Microsoft Authenticator app is the
recommended method for verification, as it is easy to use, and more secure than other methods. It provides several methods for verification, such as:
The Authenticator app sends a notification asking you to Approve sign-in
The Authenticator app generates a time-based passcode, similar to the SMS verification method
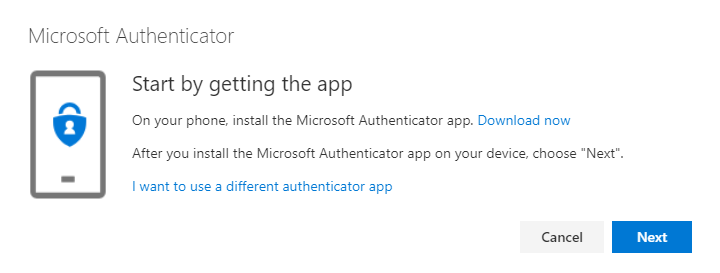
Download and Install the Microsoft Authenticator App
Install the latest version of the Microsoft Authenticator app, based on your operating system:
On your Android device, go to Google Play to download and install the Microsoft Authenticator app.
On your Apple iOS device, go to the App Store to download and install the Microsoft Authenticator app.
If you're not currently on your mobile device, you can send yourself a download link from the
Microsoft Authenticator page.
Set up the Microsoft Authenticator App
- Select Next on the menu that pops up.
- Select Next again.
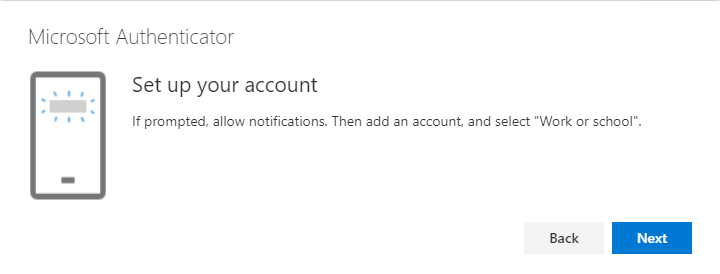
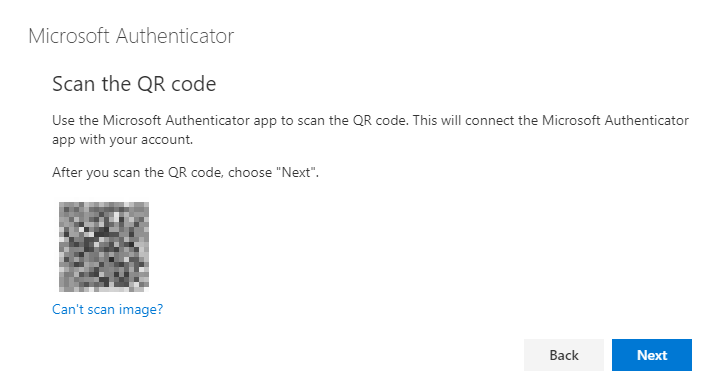
- You should see a page like below, with a QR code.
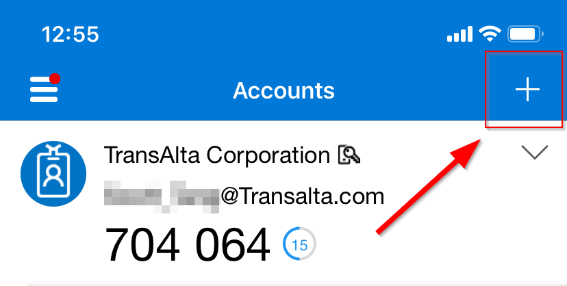
- Now on your mobile phone, open the Microsoft Authenticator app.
- For iOS: In the upper-right, click the + icon.
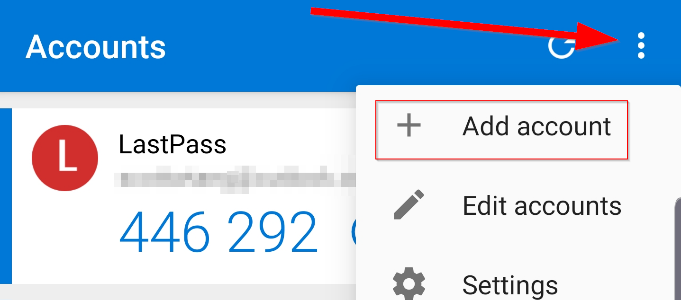
- For Android: In the upper-right, click the More options icon (the 3 vertical dots), and select Add account.
- Select Work or school account.
- Use your phone camera to scan the QR code (the square barcode) from your browser from step 6.
- Review the Accounts screen of the Authenticator app on your mobile phone, you should see your account added, and a 6-digit code. For additional security, the verification code changes every 30 seconds preventing someone from using a code
multiple times.
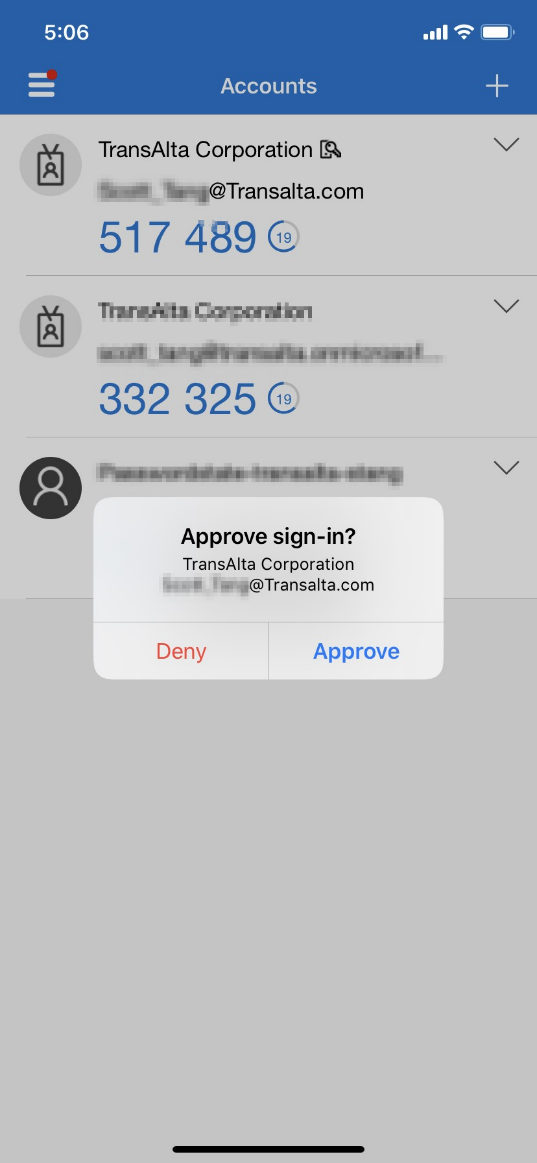
- Back on your computer, click Next and you will be prompted to verify that your account was successfully added.
- On your mobile phone, open the Authenticator app and you should see a notification similar to below. Select Approve to complete authentication.
Register MFA using your Office Phone
You can set up your office phone to use a phone call as your verification method.
We do not recommend using your office phone unless you have additional verification methods registered, as you may not always have access to your office phone.
- Go to the Security info page.
- You will be prompted to verify your identity using one of your existing methods.
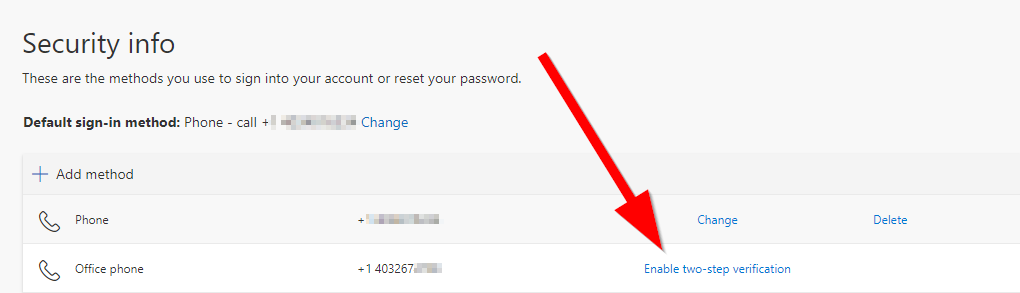
- You will be taken to the Security info page, and you should see your office phone number listed as a registered method.
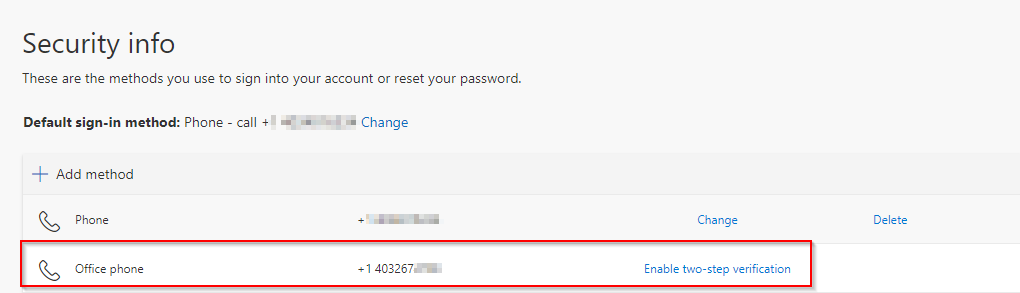
- Select Enable two-step verification. If you do not see this option, your office phone has already been registered and enabled for MFA.
- You should no longer see the Enable two-step verification option, and you can now use your office phone as a method of MFA.

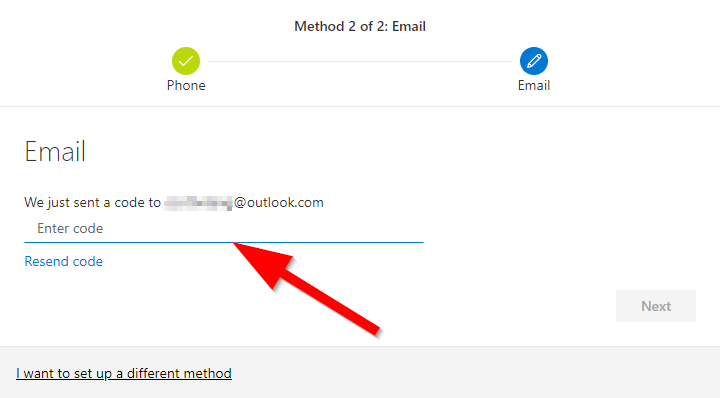
Register MFA using Email
You can set up your personal email account to use an email as an verification method.
Email cannot be set as a primary verification method used when signing in, it can only be used as a secondary verification method for the Self-Service Password Reset feature.
- Enter your email address in the Enter email field.
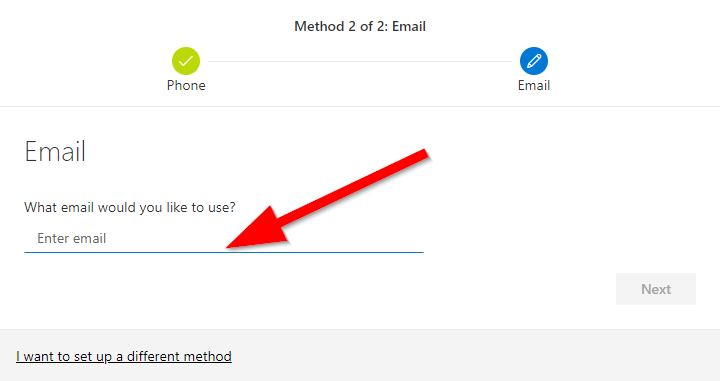
- Click Next.
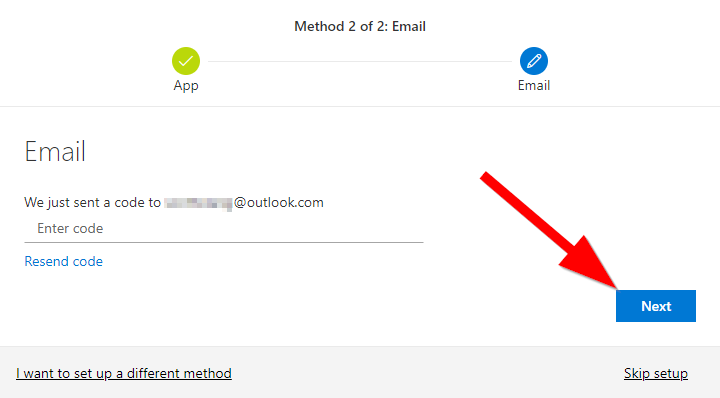
- An email will be sent from msonlineservicesteam@microsoftonline.com to the email address number you entered, containing a 6-digit verification code.
- Enter the 6-digit code into the Enter code field.
If you do not receive the email, review the email address you provided, and if it is correct, click Resend code to request a new email be sent.
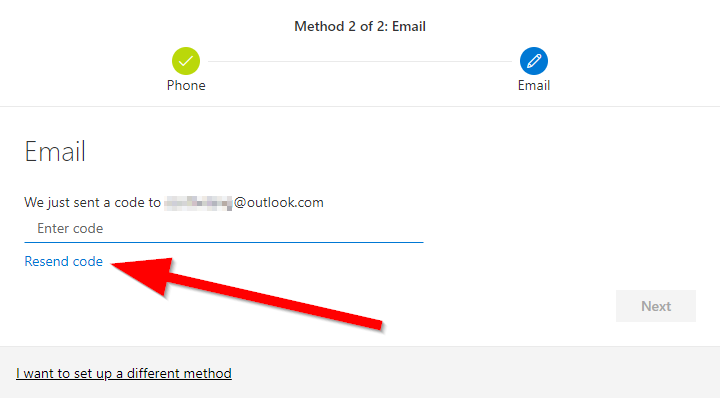
- Click Next.
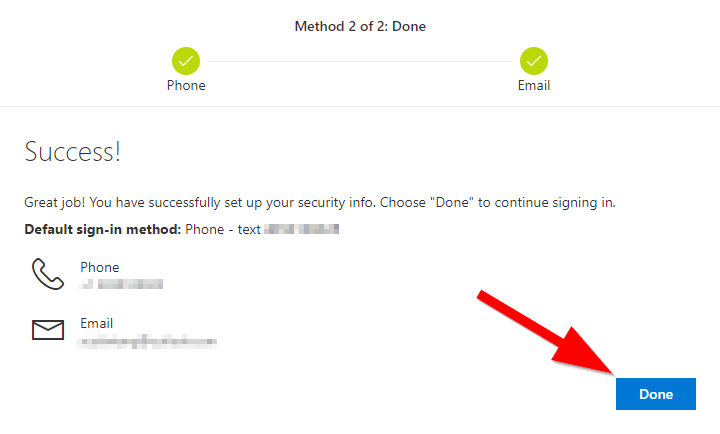
- You should see a message letting you know that the email was verified. Click Done to complete the email registration.
Use the Self-Service Password Reset Feature
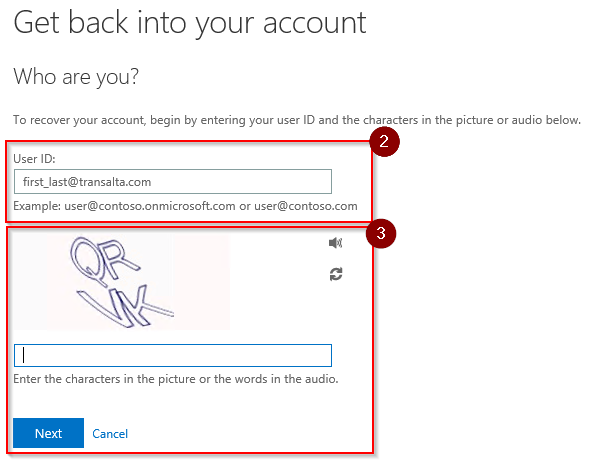
- Go to passwordreset.microsoftonline.com.
- In the User ID field, enter your TransAlta email address (e.g. John_Smith@transalta.com).
- Complete the CAPTCHA verification by entering the characters you see on the screen, and then click Next.
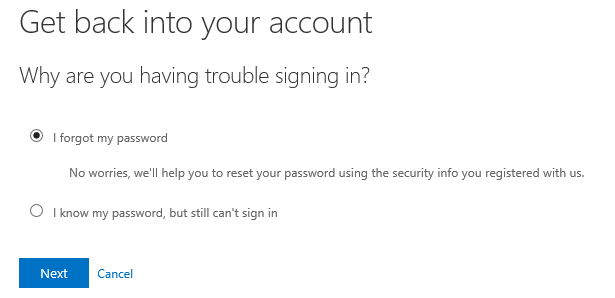
- You'll be presented with 2 options:
- If you forgot your password and need to reset it, select I forgot my password.
- If you know your password, and your account is locked, select I know my password, but still can't sign in.
- You will be prompted to verify your identity using 1 of the methods you have previously registered.
You might not see all the same options as pictured below, depending on which methods you've registered.
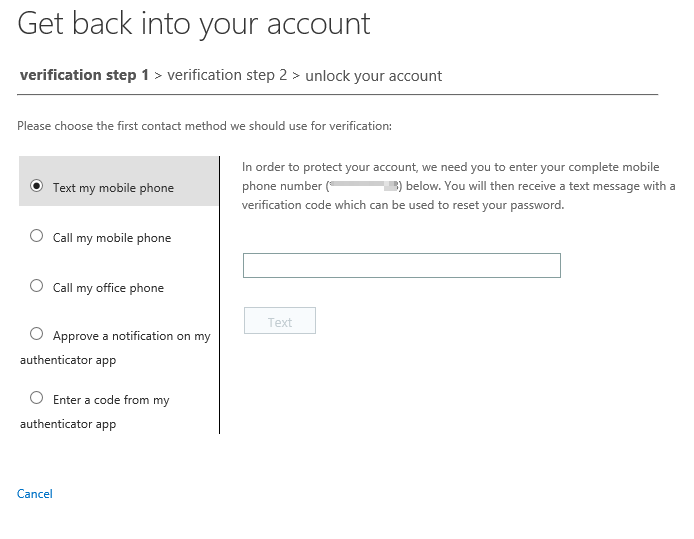
- After the 1st successful verification, you will need to verify your identity with a 2nd verification method.
- If you chose to reset your password, you will be prompted to enter a new password.

- After following all the above steps, you should now be able to login to your TransAlta account.
Change Your Password From a TransAlta Computer
- You must be logged into your TransAlta computer, and connected to the TransAlta network, either directly or through the VPN.
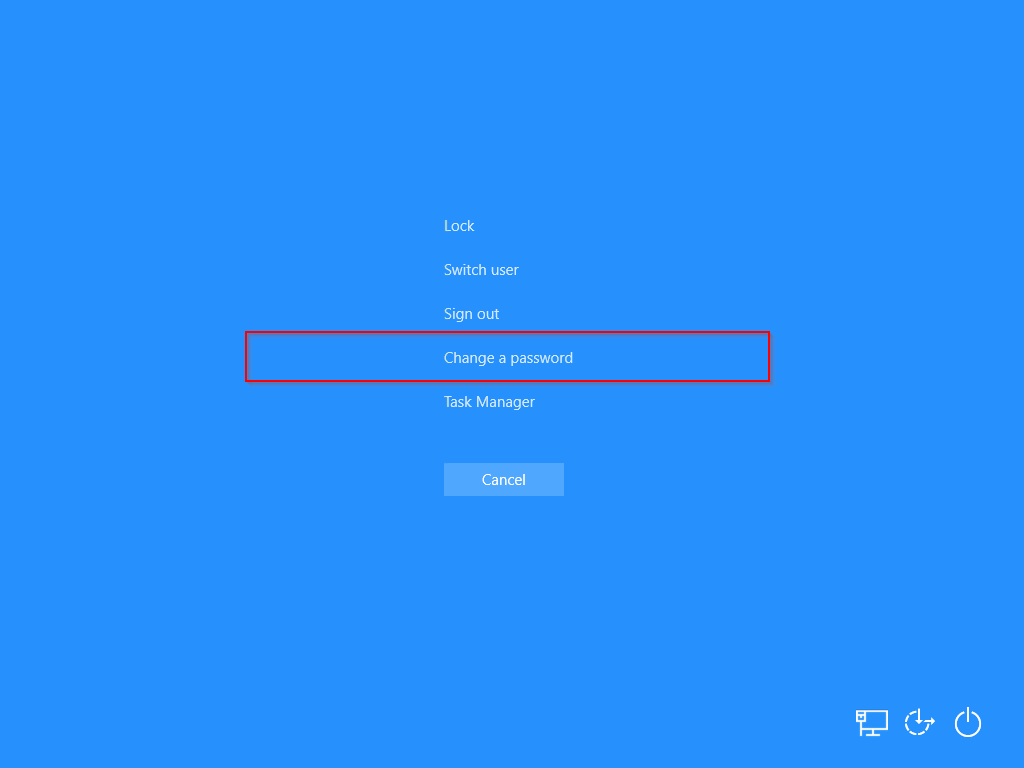
- Press the Ctrl + Alt + Del keys together on your keyboard.
- Select Change a password.
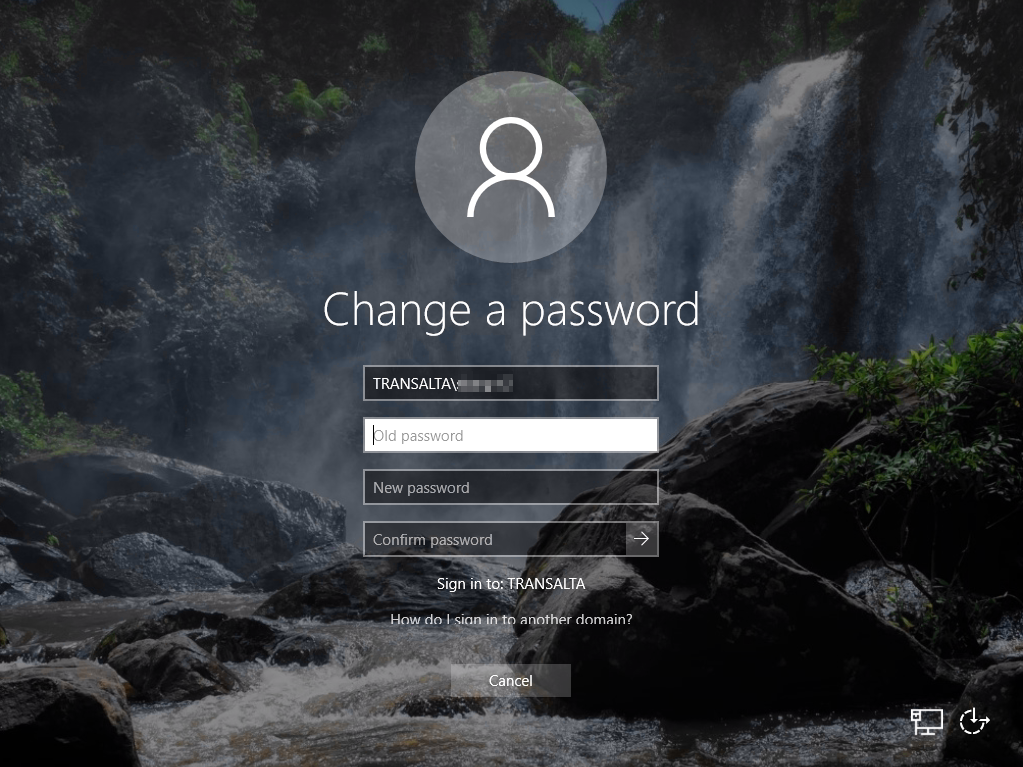
- Type your old password, and then create and confirm your new password.
You will only be prompted to verify your identity in certain security situations, such as:
- Logging in from an external network
- Using a personal computer or mobile device
- When you want to update your verification methods
- When you need to reset your password, or unlock your account, without contacting IT
Do not verify the prompt, and report the incident to IT for investigation.
You can register the alternative methods, using a text message or phone call, and email.
Any data entered for authentication, such as your phone number or email address, is not visible in the global directory. The only people who can see this info are IT administrators.
Every 180 days, when logging in to Office 365 from a browser, you will be prompted to confirm your registered info. This is to ensure that you don’t get locked out of your account.
In a normal scenario you enter your password and provide 1 form of MFA. When using the self-service feature, you will not be asked for your password and will need to instead provide a 2nd form of MFA.
If you are unable to login to your account or need additional help, you can contact the TransAlta IT service desk by filling out the form below.
Please provide an email address or phone number that you have access to, and you will be contacted as soon as possible.

